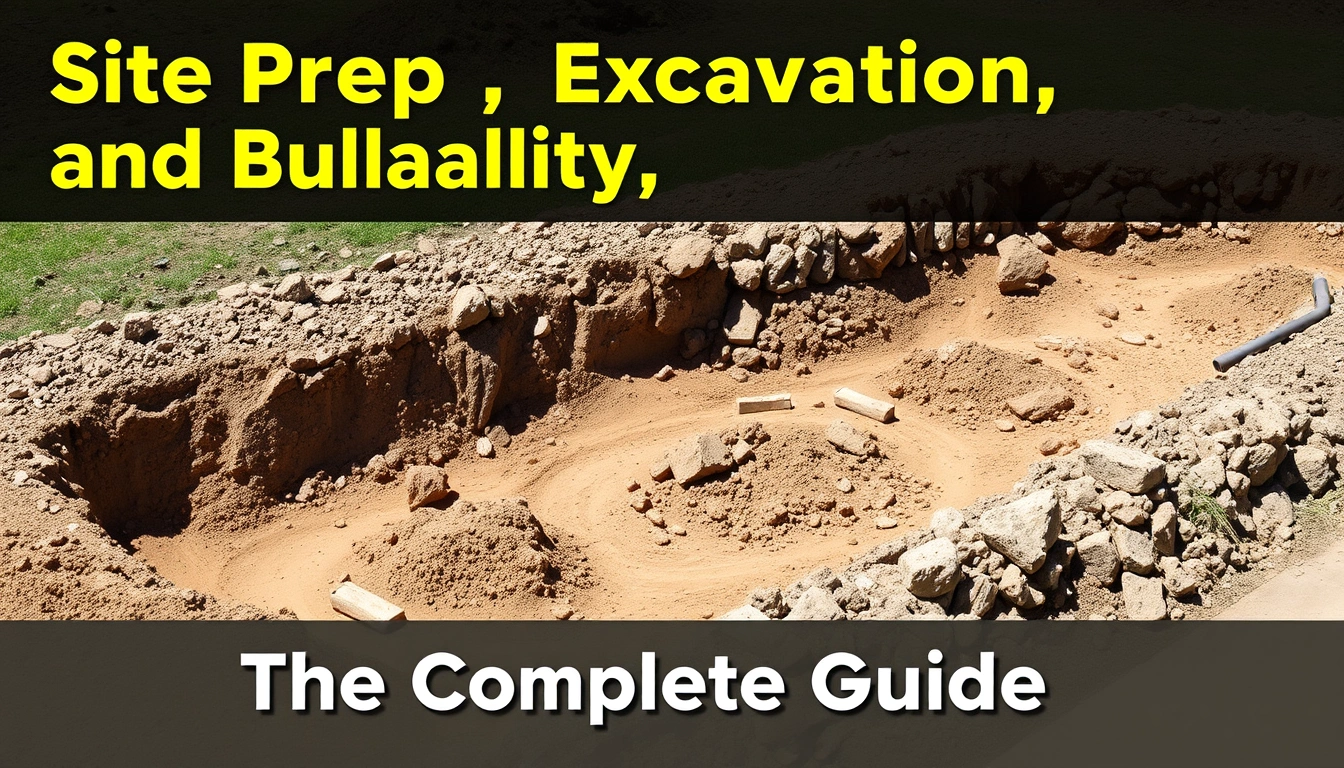
Site Prep, Excavation, and Buildability — The Complete Guide
Last updated: September 10, 2026
Key Takeaways
- A topographic survey usually shows contour intervals, often 1 foot or 2 feet depending on the site.
- The correct alternative is to call 811 and verify private utilities separately when the site has them.
- A flat-looking parcel may still have a 2% to 5% slope that changes how water moves.
- In the United States, calling 811 before digging is the standard starting point for underground utility locating.
A site can look easy and still fight you. Can it really hold a building, drain right, and pass inspection without drama? That is the real test. This site prep, excavation, and buildability guide answers that directly: site prep, excavation, and buildability are about proving the ground, clearing the right way, cutting and filling in the right places, and leaving a stable base for the structure and its services. For a homeowner, owner-builder, or project lead, it gives the core answer before work starts.
This guide is for a homeowner, owner-builder, or project lead who already knows the rough building plan and has the parcel or lot in hand. I’m assuming you have a basic site layout, a concept for the footprint, and at least a general idea of whether the build is a house, garage, addition, slab, or small commercial structure. I’m also assuming you know the difference between site work and the actual building shell. Not there yet? Then pause. If you do not yet know where the building will sit, what it weighs, or how it will drain, get the layout and structural decisions made first.
Some parts of this work are fair DIY territory on a simple job: clearing brush, marking a tentative footprint, documenting surface drainage, and understanding what your contractor is proposing. I would not treat anything casually that changes the ground under a structure, the depth of excavation, shoring, retaining walls, drainage tied to code, utility location, or any site with slope, fill, wet soils, or a high water table. Those are the moments to call a surveyor, geotechnical engineer, or licensed excavation contractor before you move ahead. For utility safety and excavation planning, see 811 and local utility guidance, and for excavation safety, consult OSHA’s trenching and excavation resources. 811, OSHA excavation safety
What “buildability” actually means before the first bucket of soil moves
Buildability means the site can support the proposed structure without settling, flooding, sliding, or forcing last-minute design changes. It is not just “the lot is big enough.” Size alone can fool people. A parcel can be generous and still be a poor place to build if the soils are soft, drainage points the wrong way, access is too tight for equipment, or local code demands more clearance, compaction, or stormwater control than the ground can handle.
What I look at first is the relationship between the building and the land. A flat-looking parcel may still have a 2% to 5% slope that changes how water moves. A 2% slope drops about 2 feet over 100 feet; that sounds minor until it sends roof runoff toward a foundation. Trees, old foundations, buried debris, soft topsoil, utility easements, ledge, and fill from a previous owner matter too. Fill is not automatically bad. Uncontrolled fill is a warning sign, though, because nobody can assume how well it was compacted. Compaction means squeezing soil to reduce voids; for structural work, that usually has to be verified, not guessed.
A generic article will tell you to “check the soil.” That is too vague to help. I would break the question into four buildability checks: bearing, drainage, access, and code setbacks. Bearing is the soil’s ability to carry load. Drainage is where water goes on a rainy day and after snowmelt. Access is whether equipment can reach the work area and leave room to stockpile material. Setbacks are the legal limits on where you can place the building, septic system, or driveway. A parcel can pass one of these and fail the others. Brutal, but true.
One standard worth knowing is the International Building Code, or IBC, which many jurisdictions adapt in some form. Local soil, grading, and foundation requirements are often based on the same engineering ideas even when the exact wording differs. I’d also keep FEMA flood maps in mind if the site is anywhere near a mapped flood zone, and I would not trust a quick visual judgment where standing water, dark organic soil, or a marshy edge suggests poor drainage. For flood and drainage context, see FEMA’s flood map resources and local building department guidance. FEMA Flood Maps, International Code Council
Want the shortest practical test? Ask this: can the proposed building be set on undisturbed or properly compacted soil, with positive drainage away from the structure, while staying within setbacks and utility clearances? If the answer is unclear, the site is not yet buildable in a practical sense.
What should you check before excavation starts?
Check the ground, the lines in the ground, and the rules around the ground before a machine cuts the first trench. This is the stage that can prevent the priciest mistakes later, even if it still deserves a professional eye when the site is messy. I would treat it as a short preconstruction survey, not as a casual walkaround.
Start with the survey. A boundary survey tells you where the legal lot lines are, and a topographic survey shows elevations and surface features. You do not need to turn every project into a science project, but if the footprint, driveway, or retaining wall is close to a property line or slope, guessing is reckless. A topographic survey usually shows contour intervals, often 1 foot or 2 feet depending on the site. Those contours tell you where cut and fill will happen. If the house pad needs 18 inches of fill in one corner and 6 inches in another, that is already a design and compaction issue, not just a dirt issue.
Then check utilities. This is not optional. In the United States, calling 811 before digging is the standard starting point for underground utility locating. Marking the site and waiting for locates is a relatively low-cost step compared with hitting gas, electric, water, sewer, telecom, or irrigation. Locates are only as good as the records and the field conditions, so I would still treat the marks as a guide, not permission to excavate aggressively. Private lines are a common gap: a service line from meter to house, a buried electric feeder to a detached garage, or an abandoned line no one documented. For utility marking basics, use 811 and your utility’s excavation guidance. 811, Common Ground Alliance
Next, look at drainage. Stand on the site after a rain if you can. If not, observe where the low points are, where downspouts would land, and whether the proposed finished grade can slope away from the building at a practical rate. The common rule of thumb is to carry positive fall away from the structure, not toward it. A smooth transition matters because a sharp berm can trap water as easily as a depression can. I want the site to shed water without creating a moat around the foundation.
Then assess soil and vegetation. Dense trees, mature roots, and large stumps complicate excavation. Organic topsoil is not suitable beneath a slab or footing because it decomposes and settles. If the site has a dark, spongy layer, that usually needs to be stripped rather than buried under the foundation. On the other hand, not every root zone means no build; it may simply mean the excavation plan has to protect certain trees or account for root pruning.
A final check is access. Construction equipment needs a path that can handle weight, turning radius, and overhead clearance. A 5-ton mini excavator is one thing; a loaded dump truck or concrete mixer is another. If access depends on crossing a narrow driveway, soft shoulder, or neighbor’s easement, I would resolve that in writing before mobilization. A good site on paper can become a bad site when the truck cannot reach it.
How do you excavate a site without creating a problem you cannot see?
Excavate only what the design calls for. Keep the sides stable. Leave the base ready for compaction, drainage, and inspection. The first rule is simple: excavation is not just digging a hole; it is shaping the ground to match a structural plan. That plan should show the footprint, finished floor elevation, footing depth, and any swales, drainage runs, or retaining elements.
- Lay out the footprint with stakes, string, and offsets. Mark the building corners and keep offset stakes 2 to 4 feet outside the excavation so the lines survive machine work. Verify diagonal measurements and corner squareness before digging. A problem shows up when diagonals do not match or the layout shifts after the first scrape.
- Strip topsoil and organics first. Remove the dark upper layer, often 4 to 12 inches on ordinary residential sites, until you reach firmer subsoil. Verify that the stripped area is uniform and no roots, roots mats, or spongy pockets remain. A problem is when the scraped surface feels soft underfoot or turns muddy under the machine.
- Excavate to the design elevation in lifts. Cut the site in controlled passes rather than digging to full depth at once. Keep the excavation bottom close to grade, then fine-trim. Verify depth with a laser level, builder’s level, or grade rod at multiple points. A problem is when one corner gets overcut by several inches and must be rebuilt with compacted fill.
- Protect side slopes or install shoring where needed. If the excavation is deep or narrow, slope the sides back or use engineered shoring so the walls do not cave. Verify that the face stays stable and does not ravel or slough. A problem is cracking soil, falling material, or any sign the side wall is moving.
- Address groundwater and seepage immediately. Pump, underdrain, or redesign the excavation if water enters the cut. Verify that the bottom is not pumping or turning soupy under equipment. A problem is a muddy base that rebounds under a boot or loader track, which means it cannot support a footing until improved.
- Prepare the subgrade for compaction or structural fill. Scarify the surface if needed, place fill in 6- to 8-inch lifts, and compact each lift to the required density for the project. Verify moisture and density by test, not guesswork, when the job calls for it. A problem is fill that looks flat but settles later because it was placed too thick or too dry.
- Proof the base before anything permanent goes in. Proofrolling means running equipment over the prepared subgrade to expose weak spots before foundation work starts. Verify that the base remains firm and even. A problem is visible rutting, pumping, or a section that deflects more than the surrounding ground.
- Keep spoil and traffic away from the finished edge. Stockpile excavated soil where it will not overload the edge or block drainage. Verify that truck traffic is not running along the excavation lip. A problem is cracking at the edge, edge collapse, or a spoil pile so close it changes grade and adds load.
One technical term worth defining: “subgrade” is the prepared soil surface that sits directly under a slab, footing, pavement, or fill layer. If the subgrade is bad, everything above it inherits the problem. That is why excavation quality matters more than how neat the trench looks from above.
A common mistake is overexcavation. If you dig 6 inches too deep and backfill it loosely with the same soil, you have created a settlement zone. The correct move is to replace it with approved fill in compacted lifts or change the structural detail. Another mistake is leaving a hole open after rain and assuming it can be dried and used as-is. Often it cannot. If the base has been softened, it may need reworking, undercutting, or stabilization.
How do you know the site is actually buildable, not just cleared?
You know the site is buildable when the ground conditions match the foundation plan, the drainage path is intentional, and the excavation can be inspected without surprises. That is the real threshold. A cleared lot is not the same thing as a buildable lot.
I would check four things before the foundation crew arrives. First, the excavation bottom should be at the intended elevation across the whole footprint, not just near the corners. For a slab or footing system, small grade errors can turn into uneven thickness or awkward steps in the foundation. Second, the soil should be consistent. If one area is dense and another is soft, that usually means the site includes fill, organics, or a change in native soil that needs attention. Third, surface water should have a path away from the building. If water will pond next to the wall after a storm, the site is not ready. Fourth, the contractor or inspector should be able to confirm that the excavation meets the design and local code.
This is where geotechnical terms matter. “Bearing capacity” is the soil’s ability to support the loads imposed by the building. “Settlement” is the downward movement that happens after load is applied. Some settlement is inevitable; differential settlement, where one part moves more than another, is the one that cracks structures. A competent site prep plan tries to keep settlement small and even by using the right foundation depth, the right compaction, and the right drainage.
The project is usually buildable when the foundation type suits the soil. Shallow frost-protected footings can work on many sites, but not where expansive clay, soft fill, or poor drainage dominates. A slab-on-grade can be efficient, but only if the subgrade and fill are controlled. A basement gives room and usable space, but it raises the stakes on waterproofing, groundwater, and backfill. I would not treat any of these as default choices without considering a site-specific report or design review. The site decides, and a licensed professional can help confirm the right foundation approach.
A good result is boring in the best way: no standing water in the cut, no loose pockets under the footing, no surprise utility conflicts, and no last-minute redesign because the excavation revealed something major. A bad result is also obvious: the excavator has to stop, the engineer gets called after the hole is open, and the foundation plan starts changing by email. That is not buildability. That is damage control.
When should you stop and bring in qualified help?
Stop when the site stops acting like ordinary dirt and starts acting like a structural problem. The cost of getting this wrong is not just delay; it can be a failed foundation, a trapped drain line, or a slope that moves after the house is framed. Those are the moments for a surveyor, geotechnical engineer, structural engineer, or licensed excavation contractor, depending on the issue.
Deep excavation close to a property line: This means sidewall stability and adjacent structures are at risk — get engineered shoring or a redesigned cut, not a wider bucket and hope. A collapse here can damage a neighbor’s foundation or trigger a code violation.
Visible groundwater, seepage, or pumping subgrade: This means the soil is too wet to support the planned work — stop and redesign drainage, dewatering, or foundation depth. Building on a wet base often leads to settlement and water intrusion.
Fill that was placed by a previous owner and has no compaction record: This means the bearing strength is uncertain — get testing or undercut and replace it. Unverified fill is a common cause of future movement.
Steep slope, cut bank, or evidence of erosion: This means the site may need retaining design, slope stabilization, or a different building location — do not assume the cut will hold. A slope that looks stable in dry weather can fail after heavy rain.
Foundation excavation uncovered unsuitable soil, debris, or buried structures: This means the original plan may no longer match the ground — stop and assess before pouring. Old concrete, wood, trash, or organic pockets can undermine the foundation.
Utility marks are unclear, missing, or conflict with the planned excavation: This means there is an unacceptable strike risk — pause until the utilities are positively located. Hitting a gas or electric line is not a minor inconvenience.
Local code requires engineered grading, stormwater control, or frost-protected design: This means the site is not a casual dig-and-pour job — follow the required design path. Skipping that step can mean failed inspection or a foundation that never gets signed off.
If the job is a simple garden shed on well-drained ground, some of this may be overkill. If the job is a house, addition, garage with utilities, or anything on slope or fill, I would rather spend money on the front end than pay to fix a foundation later. That is not a scare tactic; it is the normal math of site work.
The mistakes people actually make, and what they cost
The most expensive site-prep mistakes are usually ordinary ones made at the wrong time. They do not look dramatic while they are happening. They look like saving a day or two of schedule.
-
Skipping the survey and “eyeballing” the footprint. The consequence is a building too close to a setback, a driveway that falls on the wrong side of the lot line, or a foundation that no longer fits the plan. The correct alternative is a boundary or construction layout survey before excavation starts.
-
Digging before utility locations are confirmed. The consequence can be line strikes, service interruptions, or a stop-work order. The correct alternative is to call 811 and verify private utilities separately when the site has them.
-
Leaving topsoil or organics under the foundation area. The consequence is settlement as that material decomposes or compresses under load. The correct alternative is stripping down to competent subsoil and replacing weak spots with approved structural fill.
-
Placing fill in thick, loose lifts. The consequence is hidden settlement that shows up after the slab or footing is in place. The correct alternative is compacting fill in 6- to 8-inch lifts and checking density when the project requires it.
-
Ignoring drainage because the lot looks dry in fair weather. The consequence is water collecting near the building after a storm, then sneaking into places it should not be. The correct alternative is