How to Prepare a Building Site After Soil Stabilization
Last updated: September 10, 2026
Key Takeaways
- A small slope, even 1%, matters more than another pass with the roller.
- A site left unattended for 7 days can need rework that a same-day handoff would have avoided.
- If the formation level is meant to sit at, say, 200 mm below finished slab base, do not “eyeball” it with the excavator bucket.
- Should the surface have been loosened, compact it in 100 mm to 150 mm lifts with the roller type specified for the soil.
Who this applies to, and what I’m assuming you already have
The soil is already stabilized; now the real work starts. You still have to prove the ground is ready for construction, then build on it without undoing the fix. I’m assuming you already know the stabilized area’s limits, the method used, and the project’s target formation level, because those three things control everything that follows.
This guide is for a site supervisor, small builder, or owner-builder dealing with an ordinary building pad, driveway base, slab area, or access route after treatment such as lime stabilization, cement stabilization, deep soil mixing, geogrid-reinforced placement, or replacement and recompaction. I’m not covering a contaminated site, a landslip, or a heavily engineered foundation where the geotechnical engineer has issued a bespoke method statement; those are not “follow a generic checklist” jobs. See a site that is holding water, a treated layer that is cracking badly, or stabilization that was done to solve a structural failure? Bring in the project engineer or geotechnical professional before you keep going. See Austroads’ pavement guidance and local geotechnical specifications for acceptance and hold-point requirements. Austroads FHWA
Simple point: stabilization changed the soil’s behavior, but it did not finish the site. After the chemical or mechanical work, you still have to shape levels, manage moisture, verify bearing conditions, protect the treated layer, and create a buildable platform. People trip over this all the time. They treat stabilization like the finish line, and it isn’t. If conditions are uncertain, get the engineer to confirm the next step.
What should happen before any more earthmoving?
A clean, verified working surface comes first, along with a plan for water. Before finish-grade plant rolls in, I would confirm the stabilized area boundaries, the design thickness, the target moisture condition, and the next trade’s access needs. For lime or cement modified soil, the surface usually needs time to cure or mellow; mechanically stabilized material may need only trimming and recompaction. Either way, check the specification or ask the engineer before disturbing the layer you just paid for. See ASTM D698, ASTM D1557, and Austroads for field verification and compaction practice. ASTM Austroads
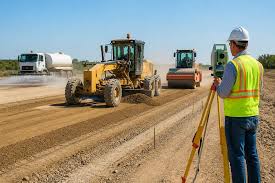
Start by checking the survey stakes or setting-out marks against the latest plan. If the formation level is meant to sit at, say, 200 mm below finished slab base, do not “eyeball” it with the excavator bucket. Use levels, laser, or total station data. Then look at drainage. A stabilized site that traps water at the edges will soften, pump fines, and create weak spots that are hard to diagnose later, so consult the engineer if you cannot maintain positive drainage. I’d want positive falls of around 1% to 2% away from the working area wherever the design allows, even if that means temporary swales or a sump.
This is also the moment to clear loose spoil, oversize clods, construction debris, and any crust that has broken away during curing. Clean is not just cosmetic. It shows whether the treated layer is uniform. Wet pockets, heave, or shiny smeared patches under the wheels? Stop. Investigate with the engineer or materials tester. Usually that means the moisture content is still outside the workable range, or the treatment depth is inconsistent.
How do you prepare a building site after soil stabilization?
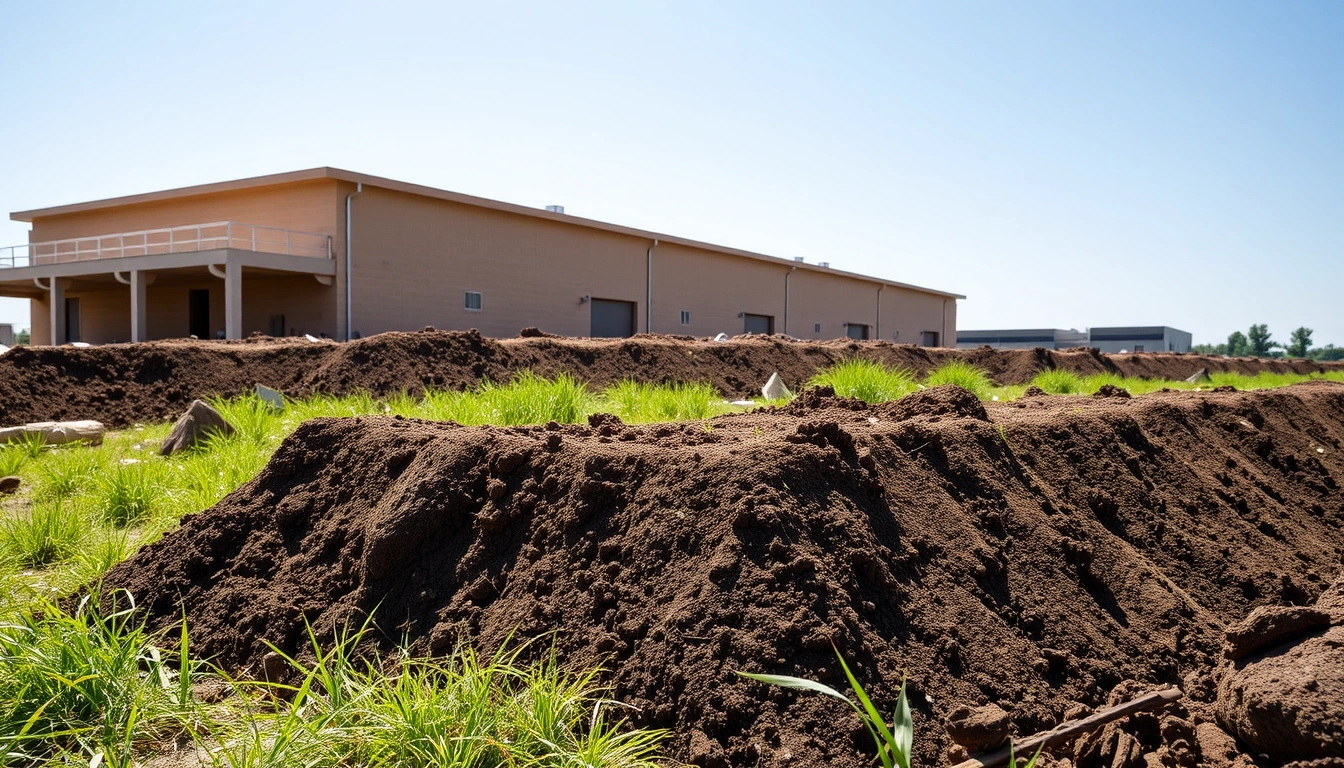
You prepare it by checking the layer, correcting moisture, trimming to level, compacting in controlled passes, then protecting the finished formation until the next build stage starts. Skipping one step is tempting. Bad idea. Each one handles a different failure mode.
| Task | Typical aim | What it costs or requires | When to use it |
|---|---|---|---|
| Trim and regrade | Hold level and crossfall | Dozer/grader, survey control | After stabilization leaves highs/lows |
| Light recompaction | Restore surface density | Roller matched to soil | When the top is loosened by trimming |
| Proof-roll | Find soft spots | Loaded truck or specified axle load | Before base, slab, or pavement layers |
| Drainage control | Keep water off the platform | Temporary drains, silt control | Any time rain can pond on site |
| Engineer review | Confirm borderline conditions | Site inspection, test records | When cracking, pumping, or wet spots persist |
- Verify the stabilized depth and limits. Use test points or the treatment records to confirm the full thickness, often 150 mm to 300 mm for near-surface work, or deeper where specified. Check that the treated zone matches the plan at the edges and around service trenches. Untreated seams, soft strips, or a visible color change where treatment stopped short are the warning signs.
- Check moisture condition before trafficking. For lime- or cement-treated soil, sample the near-surface layer and compare it with the project’s workable range. No lab guidance on hand? Don’t guess. The wrong moisture window causes rutting or dusting. The surface should feel firm under light foot traffic and not smear under the grader. Pumping, a plastic sheen, or wheel marks deeper than about 25 mm mean trouble.
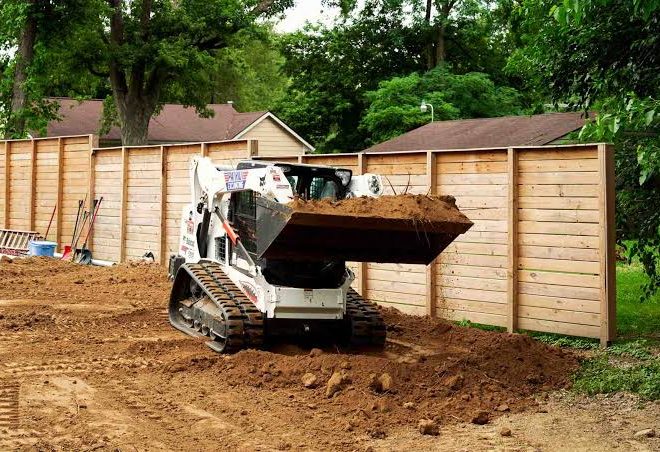
- Trim the surface to the design level. Use a grader, skid steer, or excavator with a smooth bucket to cut high spots and fill minor lows with approved material, not random spoil. Keep the tolerance tight enough for the next layer; for slab work, that usually means no obvious humps or hollows over a 3 m straightedge. Exposing soft subgrade or leaving a “washboard” finish is asking for problems later.
- Recompact in thin lifts where trimming disturbed the layer. Should the surface have been loosened, compact it in 100 mm to 150 mm lifts with the roller type specified for the soil. Overlapping passes and a consistent drum impression tell you more than a single drive-through. A crusty top with soft material beneath it looks fine right up until a loader or concrete truck arrives.
- Proof-roll the working platform. Run a loaded roller, truck, or other specified axle load slowly across the area after compaction, watching for deflection, rutting, or springiness. Proof-rolling is the field check for whether the platform can carry construction traffic. Visible wave motion, cracking, or a spot that depresses more than the surrounding ground needs rework, not more traffic.
- Install or reopen drainage controls. Cut temporary drains, maintain silt barriers, and keep runoff from entering the stabilized zone. Verify that water leaves the site without ponding at the low points. Standing water after a short rainfall, or runoff cutting along the edge of the treated pad, means the job is not finished yet.
- Protect the finished formation immediately. Restrict traffic to designated routes, place geotextile or running boards where needed, and cover exposed treated soil if the specification calls for it. Make sure delivery trucks and stockpiles stay off the edges. Edge breakage, mud contamination, or a compacted trackway that becomes the new weak point are the usual payoffs when this gets ignored.
- Document the condition before the next trade arrives. Record levels, moisture checks, proof-roll results, and any repaired spots. Keep photos with location markers. Verify that the area handed over matches the specification and that defects are marked, not hidden. A silent handoff is a mess waiting to happen — when the slab crew arrives, nobody can tell which patch was repaired and which was ignored.
The sequence is where people slip. They compact first, then find a wet pocket; or they trim too hard, then break the treated crust; or they bring in fill before drainage is set. Better order: verify, dry or condition if needed, trim, recompact, proof-roll, protect. On a large site, split it into bays of 10 m to 20 m so defects stay local and don’t spread across the whole pad.
What should you check before you build over it?
Check bearing uniformity, level tolerance, edge condition, and whether the surface is dry enough and tight enough for the next layer. The aim is not “looks okay.” The aim is “the same everywhere the structure will load it.”
For slab-on-grade work, I would pay close attention to the transition between treated and untreated soil, because that is where differential settlement likes to start. If a building footprint crosses a stabilization boundary, extend the boundary or redesign it. A hard patch beside a softer patch is a crack waiting to happen. For paving or access roads, check crossfall and longitudinal fall so water does not sit on the finished platform. A small slope, even 1%, matters more than another pass with the roller.
If there is a lab test program, the field checks should line up with it: moisture-density targets, field density checks, or a bearing assessment such as a plate load test or dynamic cone penetrometer, depending on the spec. I’m not inventing one universal number, because the acceptable value depends on the soil type and the structure above it. What matters is that the field condition matches the designer’s acceptance criteria, not the crew’s sense of confidence. For Australian projects, see Austroads and the relevant local authority standard; for U.S. work, FHWA and ASTM are the usual starting points. Austroads FHWA ASTM
One more check: the edges. They fail first because they get less confinement, more water, and more traffic abuse. If the edge crumbles under a boot or bucket tooth, the center is not enough. Fix the edge before any structural layer goes down.
When should you stop and get the design rechecked?
Stop when the site is telling you the stabilization did not give you a uniform, durable working platform. In those cases, pushing ahead usually turns a fixable problem into a structural one.
Persistent pumping under light traffic: the treated layer is still wet or weak — stop hauling and let the engineer decide whether drying, reworking, or re-treatment is needed.
Cracking that opens after compaction: the surface may be too dry, overmixed, or brittle — do not seal over it; verify the depth and curing condition first.
Soft zones larger than about 1 m across: the improvement is not uniform — excavate and investigate, because patching the top alone will not solve the sublayer.
Ponding that remains after rain or washdown: drainage is wrong — regrade or add temporary drainage before you place any base course or slab support.
Treated soil breaking apart into dusty crumbs or slick smeared clods: the moisture window is off — stop and adjust conditioning rather than compacting it to death.
Unclear treatment records or missing as-built levels: you do not know what is actually under the site — pause and rebuild the paper trail before the next layer hides the evidence.
Those are not minor defects. They affect capacity, settlement, and how long the structure lasts. If the stabilized area is part of a load-bearing foundation platform, this is the point where qualified geotechnical input matters, not after the slab has already cracked.
What are the mistakes people actually make?
The biggest mistake is assuming the treated surface is ready to carry construction traffic as soon as it looks firm. That can cost you a rut, edge breakup, or a hidden soft zone under the future building line. Better move: a controlled proof-roll and spot repair before general access.
Another common error is overwatering or washing the surface to make it “workable.” That can undo cement or lime treatment and produce a slick top layer that compacts poorly. Use controlled moisture conditioning only, and stop if the soil starts to smear instead of crumble. For guidance on moisture conditioning and compaction windows, refer to ASTM density tests and your project specification.
A third mistake is trimming too much. Cut deeper than planned, and you remove the stabilized thickness and expose weaker material below. The smarter move is thin passes and recompact any disturbed area rather than chase grade with one aggressive cut.
A fourth mistake is loading stockpiles at the edge of the treated zone. That edge may carry less than the center, and a 20-tonne truck parked in the wrong spot can cause damage you won’t see until the next rain. Keep loading zones on the designated access strip, not on the finished platform.
A fifth mistake is letting the site sit open too long. Sun, wind, and rain all change moisture and surface condition. If the next build stage is not starting within the planned window, cover, drain, and protect the formation. A site left unattended for 7 days can need rework that a same-day handoff would have avoided.
What changes on slopes, in wet weather, or on a mixed soil profile?
Water, slope, and soil variation are the three things that change the job. On a side slope, I would prioritize temporary benching or step grading so the platform is not sliding downhill as you work it. On a site with perched groundwater, a shallow drain or sump may matter more than one more compaction pass.
If the stabilized area includes mixed materials — for example, clay in one bay and sandy fill in another — the acceptance check should be stricter at the transitions. Different soils respond differently to the same roller and moisture content. One bay may look finished while the next bay is under-compacted. That is where field density checks, not visual judgment, earn their keep.
Wet weather changes the order too. If rain is forecast within a day, I would focus on proofing drainage and protecting the surface, not on chasing perfect finish levels. A saturated top 20 mm can make the whole bay look defective when the real issue is temporary weather, but do not use weather as an excuse to leave water trapped on site. On the other hand, if the specification calls for curing time after stabilization, do not shorten it just because the site schedule is tight. That delay is often the cheapest part of the job, and the engineer should confirm any change to the curing window.
How do you know the site is ready?
The site is ready when it is level, drained, uniform, and able to take the next trade without visible distress. Good footing. No pumping under proof-roll, no ponding at the edges, no mystery patches. If the site still needs explanation after you look at it, it is not ready.
I like to think of the handoff in three parts: the surface matches the drawings, the surface behaves the same everywhere, and the surface will stay that way long enough for the next layer to go in. That usually means the site can take light construction traffic for a short period, but not open-ended abuse. If the next stage is delayed, recheck it. A finished formation is a temporary condition until it is buried.
A bad result is easy to spot too. You will see tire ruts, cracked crust, edge sloughing, damp patches that do not dry, or a grader that seems to “float” over the ground in one spot and dig in in another. Those are not cosmetic issues. They are warnings that the treated platform is uneven in strength.
Quick answers to the questions people ask most
Do I need to compact again after stabilization? Yes, if the surface was disturbed, trimmed, or reconditioned; no, if the spec and the treatment method say the layer is already at final density and you have confirmation from the engineer or tester.
Can I place base course straight after stabilization? Only when the treated layer has cured or mellowed as required, passed the field checks, and is protected from traffic that could damage it.
What if the surface is hard but still wet underneath? Stop and verify moisture with field checks; a crust can hide a weak layer below, and you may need drying time, reworking, or engineer review.
Is proof-rolling mandatory? Not everywhere, but it is a strong field check for a building site after soil stabilization, especially before slab or pavement work.
What if the site looks fine but drains poorly? Treat drainage as a defect, not a nice-to-have. Water management affects the whole stabilized platform and should be corrected before the next layer goes in.