What Site Conditions Make Excavation and Grading More Expensive?
Last updated: September 10, 2026
Key Takeaways
- Remove topsoil, sod, roots, and debris, often the top 4 inches to 12 inches depending on site conditions.
- If water sits for more than 24 hours in the future work area, expect a discussion about drainage correction, undercutting, or imported base.
- Mark the cut and fill area, the haul route, and the stockpile location within about 10 feet of the planned lines.
- Treat the markings as approximate, and consult a qualified excavator, surveyor, or utility locator before exposing any line that will be crossed within 24 inches by hand or vacuum. For utility marking and excavation precautions, see OSHA’s excavation guidance and your local one-call rules.
Rock, water, and bad access can turn a routine dirt job into a pricey one fast. This article focuses on what site conditions make excavation and grading more expensive? The biggest cost drivers are rock, unstable soil, shallow groundwater, limited access, buried utilities, and a site that needs a lot of cut-and-fill correction before it can support a foundation or slab.
Who this applies to, and what you should already know
Anyone pricing or planning dirt work for a residential lot, small commercial site, driveway, pad, addition, or pool area falls into this bucket. I’m assuming you already know the basic shape of the project: where the work starts, where soil needs to go, and what finished grades the plan calls for. I’m also assuming you have at least a rough site plan or topographic survey, even if it is only a contractor sketch and a civil plan set.
So what site conditions make excavation and grading more expensive? Dirt gets expensive when it stops acting like ordinary dirt. A flat lot with dry, loose, reachable soil is one thing. A steep lot with clay, buried debris, a high water table, and nowhere to stage spoil is another. Not close. Those differences change the machine choice, the haul-off plan, the number of passes needed to compact fill, and sometimes the order of work itself.
When a site has suspected ledge or blasted rock, groundwater within the excavation zone, a retaining wall tied to the grade plan, or nearby structures that could be undermined by a cut, this is not a good “figure it out as you go” job. In that situation, I’d want a civil engineer, geotechnical input, or both before anyone starts digging. A residential excavator can handle a lot, but they cannot guess their way through unstable slope geometry or a foundation-bearing issue and stay safe.
For simple regrading, small drainage corrections, or light topsoil stripping, a homeowner can sometimes understand the cost drivers well enough to compare bids intelligently. That is the point here: not to price every shovel of soil, but to know why one site can cost 2 times or 3 times another without anyone “padding the number.”
What actually makes excavation and grading expensive?
The cost jumps because harder sites demand more machine time per cubic yard. A cubic yard is a 3-foot by 3-foot by 3-foot block of soil, and excavation pricing usually follows the effort required to move it, load it, haul it, and place it again. Slow any one of those steps, and the whole bill climbs.
Rock is the cleanest example. Weathered shale, sandstone, cobbles, and boulders may need a breaker, hammer, saw cutting, or controlled blasting. Switch from a standard excavator bucket to a hydraulic hammer, and production falls off a cliff. Even “soft” rock still chews up teeth, burns fuel, and creates disposal headaches because the material is no longer simple spoil.
Groundwater is another cost multiplier. If water enters the excavation, the crew may need trench pumps, sumps, dewatering wells, or staged digging so the hole stays workable. Wet soil also loses strength. That means wider slopes, more undercutting risk, slower compaction, and more imported fill later. Saturated clay can look stable on top and fail as soon as a machine crosses it.
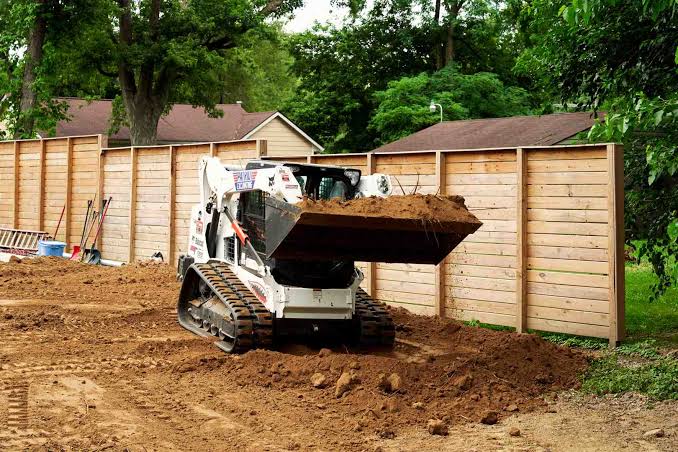
Access matters just as much as soil type. A site with 12-foot-wide access can often take standard equipment. A backyard reachable only through a 4-foot gate may require a mini excavator, skid steer, hand work, and multiple small loads instead of one efficient haul. Every transfer point costs time. Every transfer point also raises the chance of damaging finished areas that had to be crossed to get to the work.
Then there is the existing grade. A site that needs 2 feet of cut on one end and 3 feet of imported fill on the other is more expensive than one that only needs a gentle leveling pass. Cut-and-fill balance matters because imported fill has to be brought in, spread in lifts, moisture-conditioned, and compacted. If the site cannot balance its own soil, you pay twice: once to remove the surplus, and again to buy replacement material.
Which soil and water conditions drive the price up?
Clay, rock, organics, and water are the four soil conditions that most often push grading costs higher. Each creates its own headache. A bid that treats them all the same is usually too casual.
Expansive clay is a common troublemaker. “Expansive” means it changes volume with moisture. It shrinks when dry and swells when wet. That makes it harder to maintain a stable subgrade, especially for slabs, driveways, and pavement. The practical cost is not just the dig itself; it is the extra work needed to dry, over-excavate, replace, and compact the material in controlled lifts. If a site has soft, pumping clay, a contractor may need to remove the unsuitable layer and bring in engineered fill, which is fill placed and compacted to a specified standard, often tied to a geotechnical report. In practice, a few extra inches of undercut across a 1,000-square-foot pad can quickly turn into several additional cubic yards of removal and replacement.
Topsoil is another hidden cost. It is useful for landscaping, but it is usually poor structural fill because it contains organics and retains water. If a site has 6 inches to 12 inches of topsoil that must be stripped and stockpiled before grading, that is labor and machine time before the “real” work even starts. If the topsoil is mixed with debris or roots, disposal gets more expensive because it cannot simply be reused as clean fill.
Organics below the surface are worse. Peat, roots, stumps, and buried mulch settle over time. A graded site built over organic material may look fine for a season and then sink. The expensive fix is removal and replacement. A contractor who ignores organics and just blades over them is creating a future repair bill.
Water is the other big factor. A high groundwater table, seepage from a slope, or a site that ponds after rain can require dewatering and reworking the grade to move water away from the excavation. In some cases the issue is not the excavation itself but the drainage design. A slope that keeps feeding water into the cut may need interceptor drains, not just more digging. According to FEMA floodplain guidance, even shallow standing water can signal a drainage problem that needs to be addressed before final grading.
Soil contamination can also drive cost, though it is less common on ordinary residential work. If the site has fill of unknown origin, petroleum staining, concrete rubble, or other suspect material, disposal rules may change. That is no longer normal excavation pricing. It is a material-handling and compliance problem, and the contractor may need testing before any mass excavation starts.
How do access, slope, and buried utilities change the bill?
Access, slope, and utilities push the bill up because they cut efficiency and add risk. A machine that can work in open ground at full swing radius is productive. Put that same machine on a narrow lot with overhead wires, septic components, and a retaining wall nearby, and it gets slow, careful, and expensive.
Slope is the obvious one. Steep sites need benching, careful staging, and sometimes temporary erosion control just to keep material from washing away or sliding. “Benching” means cutting a series of horizontal steps into a slope so new fill can be tied in safely instead of being placed on a slippery face. On steep ground, the crew may need to work in smaller sections and maintain temporary access roads. More passes. More moving around. Less production per hour. The machine spends its time staying upright, not moving soil.
Access can be even more limiting than slope. If a site needs spoil hauled by small dump trailers or wheelbarrows because a full-size truck cannot reach it, disposal costs rise fast. Even when the contractor can get equipment in, the path to the work area matters. A muddy side yard, a narrow gate, or a finished driveway that must be protected with plywood all add labor.
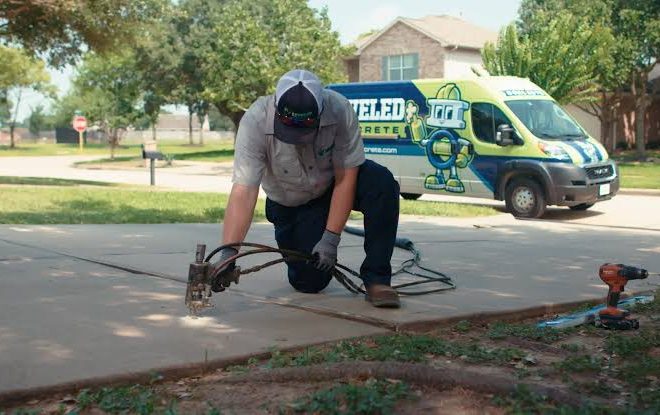
Buried utilities are where cost and risk meet. Gas, electric, water, sewer, communication lines, and drain laterals can all force hand digging near the conflict zone. In many places, utility marking through a one-call service is the starting point, not the finish. Marking shows approximate location, not permission to dig blindly. If the plan runs close to a known line, the crew may need potholing, also called daylighting, which means carefully exposing the utility by hand or vacuum excavation to verify depth and location. That slows the job and adds specialized work. OSHA notes that excavation work near utilities should follow a competent-person plan, and the Common Ground Alliance says utility damage prevention depends on verification, not assumptions.
A generic estimate that ignores these conditions is weak. A good one should ask: Can a machine reach the cut? Can a truck enter and leave without backing through finished space? Will the spoil stay on site, or must it be hauled off? Are there utilities in the work zone? If the answer to any of those is “maybe,” the price usually moves up. For budgeting, a short walk-through with photos and measurements is often enough to expose the expensive unknowns before a contractor prices the job.
What should you check before you ask for bids?
Check the site plan, access, drainage path, and soil clues before you ask for bids, because those four items explain most cost surprises. A contractor can price uncertainty, but uncertainty is expensive.
Start with the plan. Look for finished-floor elevations, driveway grades, retaining walls, septic fields, easements, and setbacks. If a civil plan shows tight grade tolerances, the contractor may need more time for layout and verification. A slope that looks simple on paper can hide a 1-foot mismatch that forces extra export or import.
Next, walk the site after a rain if you can. Standing water, wet depressions, and soft spots tell you more than a dry-day visit. If water sits for more than 24 hours in the future work area, expect a discussion about drainage correction, undercutting, or imported base. That is not cosmetic. It changes the subgrade.
Then look for signs of problem soil: brick fragments, concrete chunks, tree roots, gray wet clay, black organic streaks, or mixed fill from old construction. Mixed fill is often the most unpredictable because you do not know what is under the surface until the bucket opens it up. If the site used to be a driveway, garage pad, or demolition area, price the chance of debris early.
Finally, check access like a contractor would. Measure gate width, low wires, tree limbs, overhead soffits, and the turning radius for a dump truck. A 10-foot gate is very different from a 6-foot gate. A truck that must street-load by hand is another very different job from one that can dump at the edge of the cut.
If you can, get a topographic survey and a geotechnical report on larger or more sensitive jobs. I would especially want those for slopes, retaining walls, or building pads where a bad subgrade would be costly to fix later. A few pages of proper information can save a contractor from guessing and save you from paying for guesswork twice.
How does a good excavation and grading plan actually unfold?
A good excavation and grading plan starts with verification, not digging, and ends with compacted, drained soil that matches the design grades. The sequence matters because bad timing is one of the easiest ways to create rework.
- Confirm the limits of work. Mark the cut and fill area, the haul route, and the stockpile location within about 10 feet of the planned lines. Verify that setbacks, easements, and utility corridors are outside the work zone. If the layout conflicts with the plan, the problem is usually in the survey or in the assumptions, not in the dirt.
- Locate utilities before excavation. Call the local one-call service and verify mark paint or flags on site. Treat the markings as approximate and expose any line that will be crossed within 24 inches by hand or vacuum. If the line cannot be verified, the risk is too high to continue blindly.
- Strip unsuitable surface material. Remove topsoil, sod, roots, and debris, often the top 4 inches to 12 inches depending on site conditions. Verify that darker organic soil is not left in the structural area. If the subgrade feels spongy or pumps water under foot or machine tracks, stop and re-evaluate.
- Manage water before final cut. Cut temporary swales, pump standing water, or install a sump so the excavation stays workable. Verify that water is leaving the area within the intended drainage path. If water keeps returning from a slope or through seepage, the grading plan needs adjustment.
- Excavate in lifts and test the base. Remove soil in controlled layers, often 6 inches to 12 inches at a time for fill placement, and keep the bottom of the cut visible. Verify the subgrade is firm enough to support equipment without rutting. If the machine sinks, the material is not ready for final grading.
- Place fill in thin, compacted lifts. Spread fill in layers, commonly 6 inches or less before compaction, and compact each lift to the project specification. Verify density with field checks when required. If a lift cannot be compacted uniformly, it will settle later.
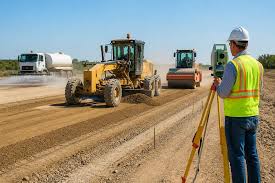
- Fine-grade to drainage tolerances. Shape the final surface so water moves away from structures and does not pond. A common target is at least 1/4 inch per foot where a positive slope is needed, though the design may call for more. Verify with a laser level or grade rod. If the surface looks smooth but traps water, it is not finished.
- Protect and stabilize the finished grade. Seed, mulch, stone, geotextile, or temporary cover may be needed within hours or days depending on weather. Verify erosion controls are in place before the next rain. If the grade erodes before the next trade arrives, the job was not truly finished.
When should you stop and bring in more help?
Stop and bring in qualified help when the site condition changes the problem from ordinary earthmoving to structural, drainage, or safety work. That is not overcaution. It is the point where a grading mistake can affect the building, the street, or the people working there.
Standing water keeps reappearing in the cut: This usually means groundwater or seepage, not just rain — stop digging and bring in a drainage or geotechnical review before continuing.
The excavation is deeper than the planned footing or pad elevation: If the bottom elevation has drifted, verify the plan and tolerances before adding fill. A few inches can matter, and a foundation grade error is more expensive to correct than to pause and measure.
The soil is mixed, soft, or unpredictable: When fill contains rubble, organics, or variable moisture, the next step is often testing or over-excavation, not just more grading. Mixed fill can hide settlement risk that only shows up after construction.