How to Identify Poor Soil Compaction on a Construction Site
Last updated: September 10, 2026
Key Takeaways
- A common field target is 150–200 mm loose lifts for many soils, though the project spec controls.
- Cut a face about 300 mm deep and examine the texture and bond between layers.
- A problem usually shows as a pattern, not a single pebble-sized dent.
- Stop relying on field clues once the area is structural, regulated, or already moving.
Poor compaction on a construction site usually gives itself away early: a soft patch underfoot, a base that pumps water, fill that settles after rain, or a surface that cracks and slips out of level. Small warnings first. If you are deciding whether a site is safe to build on or whether a fill area needs more work, this guide on how to identify poor soil compaction on a construction site starts with a blunt rule: for any structure that matters, speak to a qualified geotechnical or civil professional about your specific site before you rely on appearance alone.
Who this is for, and what you need before you start
This is for a site supervisor, foreman, owner-builder, inspector, or tradesperson who needs to tell the difference between soil that is merely damp and soil that is not dense enough for the job. You already need the intended use of the area — slab, footing, trench backfill, driveway subbase, retaining wall backfill, or general site grading — plus at least basic site information such as lift thickness, soil type, and any compaction specification. If you have a project spec, look for a target such as 95% of the maximum dry density, often referenced to ASTM D698 or ASTM D1557; those standards define the Proctor test, which is the common reference point for field compaction.
Looks can fool you. A surface may feel hard because the top 25 mm has crusted over while the material below is loose and open. That is why a visual check is only a screening step, not a verdict. For a critical foundation, pavement, or utility trench, guesswork is a bad bet. I would treat field clues as a reason to investigate, not as a final answer, and I’d ask a qualified geotechnical or civil professional before accepting the work.
Some checks are reasonable for a competent non-specialist: walking the area, looking for settlement, comparing adjacent spots, and documenting what you see. Other checks need proper equipment or a qualified tester: density tests, moisture-density relationships, and decisions about whether the soil meets spec. Near a structure, near a slope, or on regulated public work, the threshold for professional review is low. Very low.
How do I tell if soil compaction is poor?
By combining surface behavior, geometry, moisture, and a direct test — not by leaning on one sign alone. That is the practical order I would use on a site with a suspected problem. According to ASTM D698 and ASTM D1557, field results are commonly compared with a specified percentage of maximum dry density, so the project target matters more than any single visual cue.
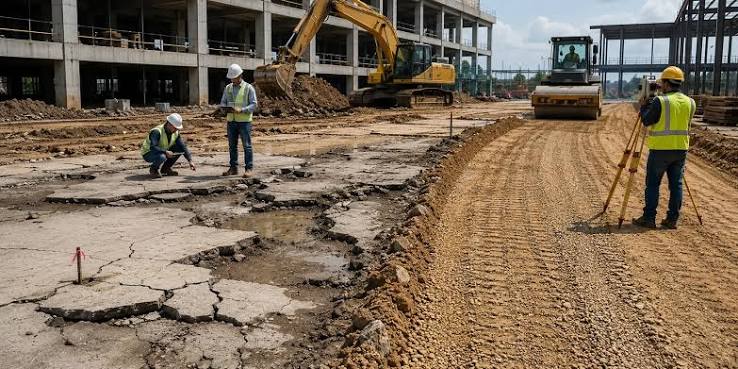
- Walk the area slowly and look for uneven settlement. Check for low spots, depressions, birdbaths after rain, cracked crusts, or edges that have dropped 10–20 mm relative to nearby ground. See whether the depression repeats across a whole lift or shows up in isolated patches. A problem usually shows as a pattern, not a single pebble-sized dent.
- Probe the surface with a steel rod, shovel, or sharp spade. Push in at several points on a 1–2 m grid, using the same effort each time. See whether resistance stays consistent. If one spot gives easily for the top 150–300 mm while an adjacent area is firm, that contrast is a red flag for uneven compaction or moisture pockets.
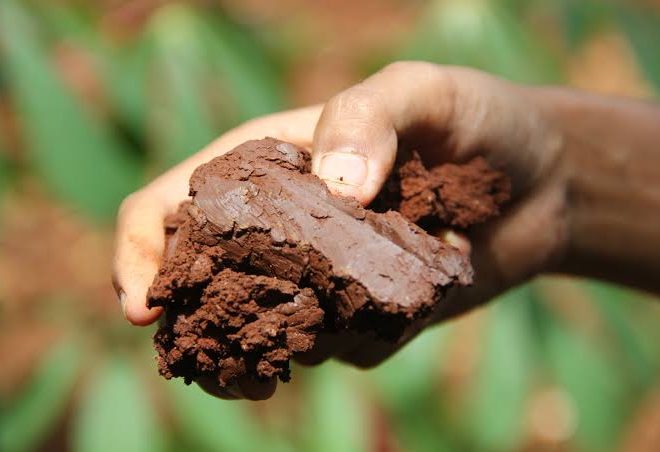
- Check moisture conditions before you blame density. Soil that is too wet can feel deceptively soft, especially in clay or silty fill. See whether the material is sticky, smears on the blade, or leaves water sheen in the hole. If you can squeeze a ball that holds shape and then deforms without crumbling, the moisture content may be outside the workable range for good compaction.
- Inspect lift thickness and placement quality. In placed fill, look at the layer thickness before compaction. A common field target is 150–200 mm loose lifts for many soils, though the project spec controls. Verify that the layer was not placed too thick for the roller, plate compactor, or rammer to reach the full depth. Thick lifts often leave a hard top and a loose underside.
- Look for pumping under traffic or equipment. Drive a light loader, truck, or even foot traffic across the area only if it is safe and appropriate for the site stage. See whether the ground deflects and springs back or whether fines and water are squeezed to the surface. Pumping means the soil structure is moving under load, which usually points to poor compaction, excess moisture, or both.
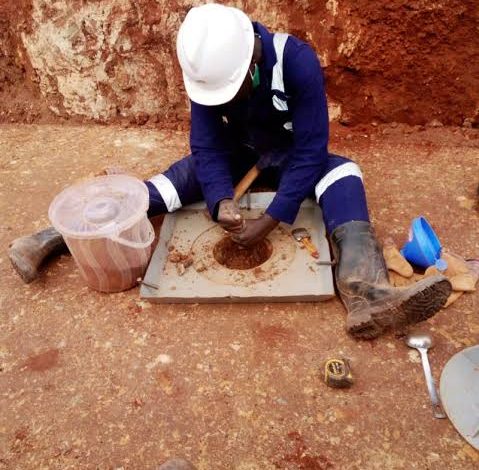
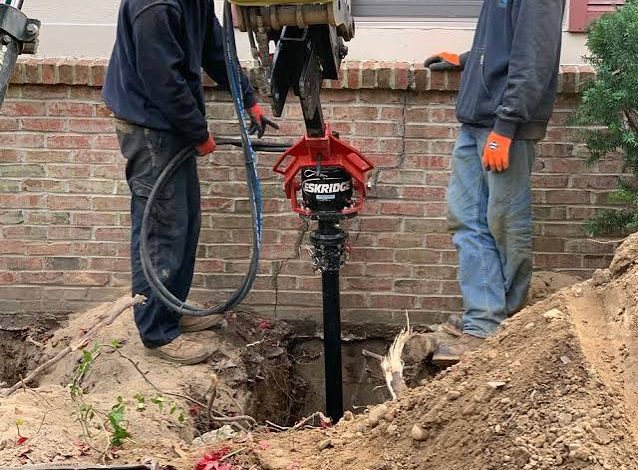
- Dig a small test hole or inspect a trench sidewall. Cut a face about 300 mm deep and examine the texture and bond between layers. See whether the material breaks into tight clods or falls apart into loose, single-grain material with visible voids. A weak interface between lifts often means the next layer was placed before the lower layer was properly compacted or scarified.
- Compare density with a field test if the job is structural. Use a nuclear density gauge or sand cone method only through trained personnel and in line with the relevant standard and site rules. Match measured dry density and moisture against the project requirement, often tied to ASTM D698, ASTM D1557, or another specified criterion. If the result falls short by a meaningful margin, the visual clues are confirmed rather than merely suspected.
- Check nearby hardscape and edges. At curbs, slab edges, trench reinstatements, and utility cuts, look for edge drop-off, hairline cracking, or a narrow strip that settles faster than the middle. See whether the weak zone tracks the perimeter of the placed fill. Edge failure often means the compactor could not reach the margin, not that the whole site is poor.
A good result is usually almost boring: the surface stays level, the probe meets similar resistance everywhere, there is no pumping, and the test face shows dense, consistent material. A poor result is messy by comparison — hard here, soft there, dry dust in one lift, smeared wet clay in the next. That mismatch is what causes later settlement.
What do the warning signs actually mean?
Each warning sign points to a different failure mode. Softness can mean low dry density, high moisture, or both. Cracking can mean shrinkage from drying, but on fill it often appears after the soil has settled unevenly and the crust has split. Pumping usually means the soil cannot carry the applied load without expelling water. A smooth, hard surface can still hide a weak layer underneath if only the top was compacted.
Two spots 1 m apart matter more than a vague “the site seems soft” impression. Soil is variable by nature; the real question is whether the variation stays within what the design can tolerate. That is why compaction specifications are tied to both density and moisture. One without the other gives a false sense of security. Paper tiger, really.
On many jobs, the real culprit is not the compactor itself but the sequence. If fill is placed in lifts thicker than the equipment can densify, or if the soil is worked when it is far too wet, the top may look finished while the lower part remains loose. The site can pass a quick walkover and still fail later under a slab or wheel load.
When should I stop relying on field clues?
Stop relying on field clues the moment the area is structural, regulated, or already showing movement. These are the situations that change the answer.
Any footing, slab, retaining wall, or paved area with a specified compaction target: surface inspection alone cannot prove compliance — get a proper field density check or geotechnical review before construction continues.
Visible settlement after rain or after a loaded vehicle passes: the soil is already deforming under load — stop using the area as if it were stable until the cause is identified.
Pumping, rutting, or water rising to the surface when loaded: the subgrade is unstable or too wet — remove the load and have the layer evaluated before more material goes on top.
Backfill beside a foundation, basement wall, sewer line, or storm line: the risk is not just settlement but damage to the structure or service — use qualified oversight and the specified compaction method.
Fill over soft native soil, peat, organics, expansive clay, or recently disturbed ground: the problem may be deeper than the fill itself — stop treating it as a simple top-layer compaction issue and consult a qualified geotechnical or civil professional, because the needed fix may involve subgrade stabilization or redesign.
Any area where the compaction method or required density is not documented: you do not know what “good enough” means yet — get the project requirement before accepting the work.
Ignore these situations, and the bill usually arrives later: cracking, trip hazards, slab movement, utility breaks, or uneven paving. Costly. Harder to prove once the evidence is buried. If the site matters, uncertainty is a reason to verify, not a reason to keep going.
What mistakes do people make when checking compaction?
The most common mistake is judging only by the top 20–30 mm. That crust can be dry and firm while the lift beneath is loose. The consequence is a false pass, followed by settlement after construction. The better alternative is to probe deeper, cut a test face, or verify density with a field test.
Another mistake is confusing wet soil with compacted soil. A damp clay layer can feel hard to a boot heel and still be far from dense enough. The consequence is compaction that looks successful on the day and fails later as the water moves. The better alternative is to check whether the soil is in a workable moisture range before concluding anything.
A third mistake is using the same judgment for every soil type. Sand, silt, clay, and granular fill do not behave the same way. Coarse granular material often drains and densifies differently than cohesive soil. The consequence is applying the wrong standard to the wrong material. The better alternative is to match your assessment to the soil type and the project specification.
A fourth mistake is assuming heavy equipment means proper compaction. A loader or truck can press the surface hard without densifying the full lift. The consequence is a misleading “finished” appearance over a weak lower layer. The better alternative is to use the right lift thickness and the right compaction equipment for the material.
A fifth mistake is checking only one spot on a large area. Compaction failures are often patchy. The consequence is missing a weak zone that later becomes the settlement point. The better alternative is a grid pattern with repeated checks, especially near edges, trenches, and transitions.
A sixth mistake is accepting work without documenting what was seen. If you do not note where the soft spots were, how deep they felt, and whether the issue was moisture or density, you lose the ability to compare after rework. The better alternative is to record location, depth, soil condition, and any test result in plain terms.
When standard compaction guidance needs to change
Standard guidance needs to change when the site stops being “ordinary fill” and starts behaving like a special case. Clay, silty sand, organic soil, saturated ground, and freeze-thaw conditions all change the picture. Clay that is too wet may seal on the surface and trap softness below. Silty soils can look stable until traffic breaks them down. Organic material is a poor candidate for simple compaction because it compresses over time instead of densifying predictably.
Once edge conditions change, the guidance needs to change too. Along trenches, narrow strips, and wall backs, a large roller cannot reach everywhere. In those places, handheld equipment or smaller mechanical methods are often used, and the area should be checked more frequently because the risk of missed zones is higher. If the lift is narrower than the equipment footprint, assume the margin is vulnerable until proven otherwise.
Weather matters too. After heavy rain, the same material can change from workable to uncompactable in a few hours. In hot, dry conditions, the top can crust and hide moisture deeper down. Frost and thaw create another problem: a frozen layer may seem firm but loses support when it thaws. In cold weather, I would be cautious about judging compaction by feel alone.
There is also a design threshold to respect. A landscaped area may tolerate a little settlement. A slab-on-grade, tank pad, bridge approach, or pavement usually will not. That difference is why the question is not simply “Is the ground hard?” It is “Is it hard enough for this specific use, at this specific moisture condition, to the specified density?”
What does a good result look like?
A good result is consistent resistance across the area, no pumping under light load, no obvious depressions, and no sign that one lift is floating on another. In practical terms, the surface should behave the same way in a 1 m square as it does in the next 1 m square. If a field test is part of the job, the measured density and moisture should align with the project requirement, often expressed against a Proctor-based standard such as ASTM D698 or ASTM D1557.
I would trust a site more when the clues agree: the probe feels similar everywhere, the surface stays level after traffic, the trench backfill does not settle below adjacent ground, and the test records match the observed behavior. I would distrust a site when the clues conflict — hard surface, soft subsurface; dry top, wet bottom; dense-looking edge, loose center.
That is the practical test. Not perfection, but consistency. Compaction failures are expensive because they hide until the load arrives. Catch them early, and you bury less trouble.
What should I do if I suspect poor compaction?
If you suspect poor compaction, pause acceptance of the area and document what you found before more work goes on top.