Soil stabilization methods and materials — the complete guide
Last updated: September 10, 2026
Key Takeaways
- Soil stabilization is simple in theory and unforgiving in the field.
- The field term “subgrade” means the natural or prepared soil layer under a pavement or slab.
- Physical reinforcement adds tensile support with geotextiles, geogrids, or soil nailing.
- Drainage and moisture control keep soil strong enough to do its job.
Quick Answer: soil stabilization methods and materials — complete guide: the fastest way to match the right treatment to the soil is to classify the problem first, then choose from compaction, lime, cement, aggregate replacement, geosynthetics, or drainage. A 150 to 200 mm lift is a common field range for many treatments, though the spec and equipment set the final depth. For critical work, consult a geotechnical professional and verify the design with testing and local standards. Start with the soil, not the product.
Soil stabilization methods and materials — the complete guide is the one I reach for when native ground will not carry the load, hold a slope, or stay workable long enough to build on. Need a driveway base? A building pad? A road subgrade, trench backfill, or a slope that keeps raveling? The question is not “Can the soil be improved?” Usually, yes. The real question is which method will make that ground stable enough for the job without creating a new mess. In small jobs, the answer often comes down to a few hundred millimeters of treated soil. Simple. Not easy.
This guide assumes you already know the site is weak, wet, plastic, loose, expansive, or erodible, and you want a practical way to fix it. I’m blunt about the limit: if the issue involves a critical structure, a landslide-prone slope, contaminated soil, groundwater control, or anything where failure could threaten people or major property, this is the point to bring in a geotechnical engineer. Soil stabilization is simple in concept. Execution is another story. A bad choice can look fine on day one and fall apart after the first hard rain. The U.S. EPA and FHWA both emphasize that site conditions and local requirements control the method, not habit or guesswork.
What soil stabilization actually does
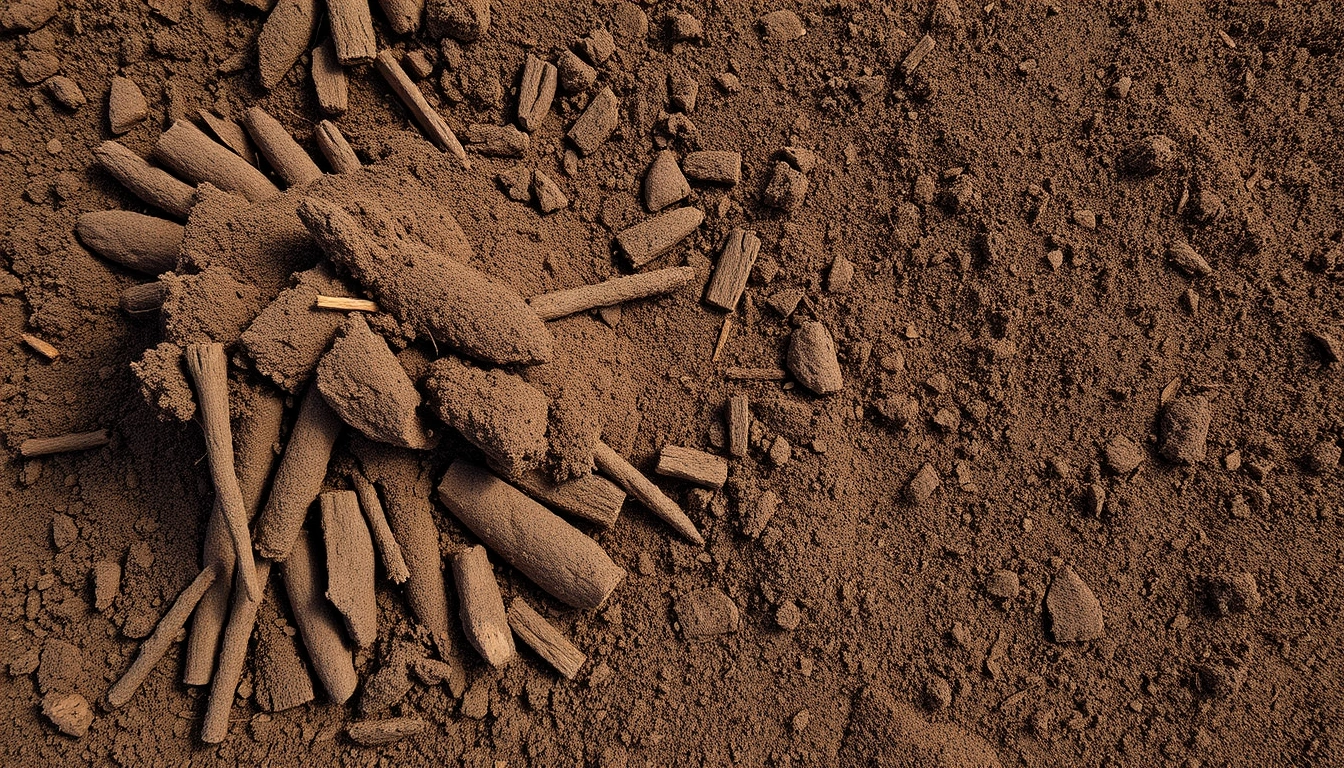
Soil stabilization makes a soil stronger, stiffer, less compressible, less water-sensitive, or less erodible by changing its structure or chemistry. That can mean mixing in a binder such as lime or cement, compacting it at the right moisture content, adding geosynthetics, replacing weak material, or drying and draining it so it behaves better. The field term “subgrade” means the natural or prepared soil layer under a pavement or slab. “Plasticity index” is the measure of how much a fine-grained soil changes shape with moisture; high plasticity usually means more movement and more trouble.
“Stabilized” does not mean “fixed forever.” It means the soil now meets a target for a specific use and a specific layer thickness. A road subgrade usually needs different treatment than a warehouse pad, and both differ from an excavation sidewall or a slope face. AASHTO and FHWA guidance treat pavement support, working platforms, and slope stability as different design problems. The wrong method can create a crust over weak soil. That one fools people all the time. It feels firm under a roller and then pumps under traffic or cracks after wet seasons.
I think of stabilization in four buckets: mechanical, chemical, physical reinforcement, and drainage/moisture control. Mechanical methods change density and grading. Chemical methods alter clay behavior or bind particles together. Physical reinforcement adds tensile support with geotextiles, geogrids, or soil nailing. Drainage and moisture control keep soil in a state where it can keep its strength. A good project often uses more than one bucket. In many FHWA applications, the best results come from combining a separator, a reinforced base, and water control.
The material choice depends on soil type. A sand with poor gradation responds differently from a fat clay. “Fat clay” is a clay-rich soil with high plasticity and high shrink-swell potential. Organic soils are a different animal again; they often do not stabilize well with ordinary binders because the organic matter interferes with the chemical reaction. Saturated silts can be especially slippery because they lose strength quickly when disturbed and may need removal, drainage, or separation before any binder makes sense. USDA and USGS material references both note that texture and moisture condition change behavior dramatically.
Which soil stabilization method fits which soil?
The right method depends on the problem the soil is causing, not on the material that is popular on the jobsite. For a granular soil that is loose or poorly graded, I would usually start with compaction, moisture conditioning, and sometimes a geotextile separator or geogrid. For a clay that is too plastic and wet, lime or lime-cement treatment is often the first chemical option; check it with testing before you commit. For a soil that simply needs better bearing support under a platform or access road, mechanical stabilization with a well-graded aggregate base may be enough. For a slope or embankment, reinforcement and drainage matter more than “making the dirt harder.”
Here is the short version I use when I sort options:
- Compaction and moisture conditioning: best for silts, sands, and mixtures that only need density. A common field target is near optimum moisture, often within about 2 to 3 percentage points.
- Lime stabilization: best for many high-plasticity clays that need workability and reduced plasticity. Consult a professional and verify sulfate content before using it.
- Cement stabilization: useful for granular soils and some silts; can also treat certain clays, but it tends to make brittle material if the mix is wrong. Consult a professional and confirm the design with lab testing.
- Fly ash or other industrial by-product blends: sometimes useful, but highly variable and best done with proper testing and specification. ASTM and agency specs often require source-specific approval.
- Geotextiles and geogrids: good for separation, reinforcement, and load distribution, especially over soft subgrade.
- Aggregate replacement: the cleanest fix when the weak soil is shallow and removal is practical.
- Drainage and dewatering: essential when water is the real cause of weakness.
A generic article often says “lime for clay, cement for sand,” which is too simple. Lime works well on many clays because it drives cation exchange and pozzolanic reactions; that means it changes the way clay particles attract each other and can form cementitious bonds over time. Cement can work on granular soils because it coats particles and hardens into a soil-cement matrix. But a soil with organics, sulfates, or extreme moisture may need a different approach, because chemistry can go sideways fast. Sulfate-bearing soils can react badly with some lime treatments and cause expansion; consult a professional and confirm soil chemistry before choosing lime. FHWA and state DOT manuals both flag this as a design issue, not a field guess.
If you have not yet classified the soil, even a basic visual-manual assessment helps: grain size, moisture, cohesion, plasticity, and whether the soil smears, crumbles, or pumps. Get a lab classification under the Unified Soil Classification System if you can. An Atterberg limits test, which includes liquid limit and plastic limit, gives you a real sense of plasticity. That is where the decision stops being guesswork. ASTM D2487 and ASTM D4318 are common references for this step.
How do I stabilize soil step by step?
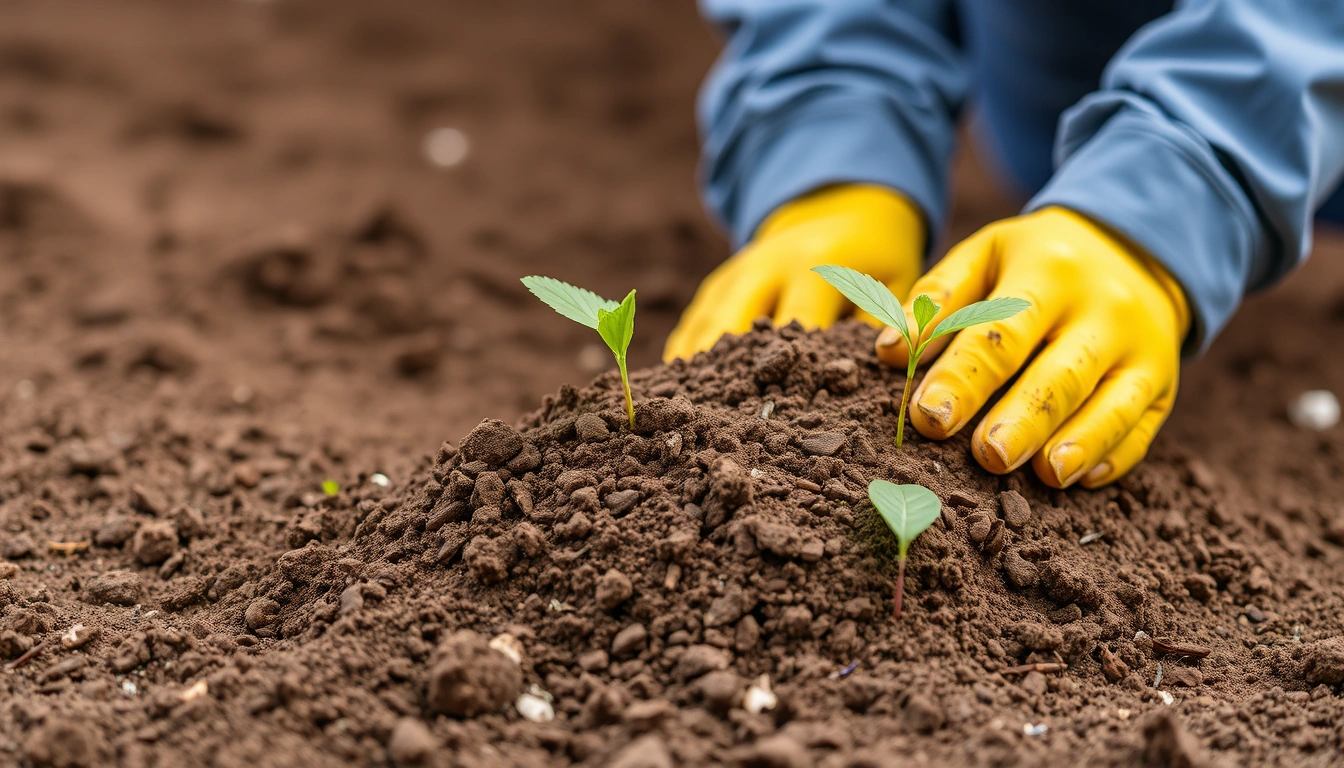
I stabilize soil by identifying the failure mode first, then choosing the least complicated method that meets the performance target, then controlling moisture, thickness, mixing, and compaction. The process below is the backbone of most small and medium earthwork jobs, and it still matters on larger ones even when the engineering is more formal. FHWA guidance on soil-cement and lime modification follows the same sequence.
- Identify what is failing and how deep it goes. Expose a test pit, hand auger hole, or probe the area at several points; on a driveway or pad, check at least the top 300 to 600 mm, because shallow crusts hide weak subgrade. Verify whether the problem is softness, pumping, rutting, shrink-swell, erosion, or a combination. A problem sign is a firm surface over saturated, slick, or fibrous material below.
- Classify the soil enough to choose a method. Note whether it is sand, silt, clay, gravel, or organic soil; if possible, get a lab classification and plasticity index. Verify whether the material is mostly granular or fine-grained, because that changes the binder choice. A problem sign is dark organic odor, visible roots, or a soil that stays sticky and shiny when worked.
- Set a performance target before mixing anything. Decide the layer thickness, allowable rutting, required subgrade strength, or target bearing capacity for the use. For a temporary access road, the target may be different from a building pad. Verify that the target matches the end use. A problem sign is when the goal is vague, such as “make it hard,” because hard surface crust and real support are not the same thing.
- Control moisture to the workable range. Dry wet soil, aerate it, scarify it, or lightly pre-wet dry fines so the binder and compaction can work. In many field specs, compaction is targeted near the optimum moisture content from a Proctor test, commonly within about 2 to 3 percentage points of optimum, though the exact tolerance belongs to the project spec. Verify that the soil can be formed without pumping water or dusting apart. A problem sign is that a handful squeezed into a ball either turns to paste or falls apart like dry flour.
- Spread the stabilizing material at the specified rate. Use the design dosage, whether that is a percentage by dry soil mass, a spread rate in kg/m², or a lift thickness. Keep the lift thin enough for full mixing; 150 to 200 mm is a common field lift range for many treatments, but the actual depth depends on equipment and spec. Verify even distribution before mixing. A problem sign is streaking, clumps, or white or gray pockets of unmixed material.
- Mix uniformly through the full treatment depth. Use a reclaimer, rotavator, pugmill, or excavator mixing method suited to the site. Make sure the binder reaches the full target depth instead of just the top crust. Verify color and texture consistency across the layer. A problem sign is “layer cake” soil, where the top looks different from the bottom, or where dry pockets remain after passes. Consult the manufacturer’s method statement and the project spec if the depth is uncertain.
- Compact immediately at the right moisture. Compact with the appropriate roller or plate compactor while the mix is still within the workable window. For cohesive soils, a sheepsfoot roller is common; for granular or mixed materials, a vibratory smooth drum is common. Verify density or field stiffness with the project method, such as nuclear gauge, sand cone, proof rolling, or another accepted check. A problem sign is rolling that leaves a glossy surface, deep heel marks, or “walking” under the machine.
- Finish and cure without letting water ruin the layer. Shape the surface, seal it or cover it if the material requires curing, and keep traffic off until the binder gains enough strength. Cement-treated or lime-treated layers often need curing time; exact duration depends on the mix and weather, but early traffic on a green layer can shear it apart. Verify the surface remains tight and does not ravine, dust, or slake. A problem sign is cracking from shrinkage too early, or softening after rain because the layer was left open.
That order matters. People often try to fix weak soil by adding material first and asking questions later. I would not do that. Skip classification, moisture control, or compaction, and the stabilized layer can fail for simple reasons that no amount of binder can rescue.
What materials are used to stabilize soil?
The main materials are lime, cement, fly ash or similar pozzolans, bituminous agents in some road work, aggregate, and geosynthetics. The material itself is only half the answer; the soil type and the water condition decide whether the material helps or hurts. FHWA, ASTM, and state DOT manuals all emphasize compatibility and testing.
Quicklime and hydrated lime are used mostly on clayey soils. Lime reduces plasticity, improves workability, and can increase strength over time through pozzolanic reaction. I would choose lime when the soil is wet, plastic, and fine-grained, and when the goal is to dry and mellow the soil so it can be compacted. I would not choose lime as a universal fix. It is a poor fit for many organic soils and can be troublesome where sulfates are high. In many specs, the treatment depth is only the upper 150 to 300 mm, so the reaction zone is limited.
Portland cement is a stronger, faster binder and can create a soil-cement layer with good early strength. It is common in base stabilization and some subgrades. The downside is brittleness. If the mix is too stiff or the subgrade moves, cracks can reflect through the layer. Cement also demands better mixing control than many people expect. A few wet pockets or dry streaks can spoil the result. Consult a professional if the soil has high fines or unusual salts.
Fly ash and other pozzolanic materials can help, especially when used in engineered blends. These are not “whatever is cheap and dusty.” Their chemistry varies, and some by-products are governed by local environmental rules. If you do not know the source, composition, and spec compliance, I would be cautious. The same goes for kiln dust and other industrial stabilizers. EPA and state environmental programs often require source documentation and leachability checks.
Aggregate is the simplest material: remove the weak stuff and replace it with well-graded gravel or crushed stone. For shallow weak zones, this is often the cleanest answer. It is also often the most expensive in hauling, and it may not be practical if the weak layer is deep. When aggregate is used as a stabilizing layer, the grading matters. A good base has enough fines to lock but not so many fines that it becomes a wet sponge. A 100 to 200 mm aggregate replacement can solve a small localized failure when the weak zone is shallow.
Geotextiles and geogrids are not binders, but they are real stabilization materials. A geotextile is a permeable fabric used for separation and filtration; a geogrid is a grid-like reinforcement product that interlocks with aggregate and spreads load. I would use a separator fabric where soft subgrade contaminates a granular base. I would use a geogrid where I need load distribution over weak ground or a thinner section than I could otherwise justify. They are especially useful in access roads, working platforms, and temporary construction roads. FHWA reports show substantial reductions in aggregate thickness in some reinforced platforms when the design is verified.
Water control materials matter more than people admit. Underdrains, perforated pipes, drain rock, slope drains, and surface grading do not sound glamorous, but if water is the root problem, they are often the real fix. If you only make the soil harder and leave water in place, you may have made a future failure more orderly. A 25 mm rain event can undo a poorly drained lift in a day.
When should I stop and call in a geotechnical engineer?
You should stop and get qualified help when the soil problem is deeper than a simple access road, changes with season or groundwater, or sits under something that cannot tolerate settlement or slope failure. Soil stabilization is often the wrong tool for the job when the ground is moving for reasons you have not identified. If you are outside the common range of shallow improvement, consult a geotechnical engineer before proceeding.
Soft ground extends below the treatment depth: the weak layer is deeper than the 150 to 300 mm you planned to treat — shallow stabilization will bridge over a deeper problem and fail under load; a geotechnical design may call for excavation, preload, wick drains, piles, or a thicker reinforced section.
The soil contains a lot of organics: peat, muck, root matter, or dark fibrous material is present — ordinary lime or cement treatment often performs poorly because the soil is compressible and chemically tricky; remove and replace, or redesign the foundation approach.
You see groundwater, seepage, or pumping: water is entering the work area or fines are moving under traffic — binder alone will not solve a drainage problem; dewater, intercept, or redesign drainage before trying to stabilize.
The site is on a slope or shows movement: tension cracks, slumps, scarps, or bulging toe conditions are visible — you may be dealing with a stability problem, not just weak soil; do not rely on a surface treatment, because failure can progress rapidly.
The soil has sulfates or other reactive chemistry: some clays and fill materials react badly with lime or cement — expansion, heave, or strength loss can follow; get testing and a mix design before using chemical stabilization.
The structure is sensitive to settlement: the project supports walls, tanks, columns, slabs with tight tolerances, or utilities with low allowable movement — a casual field fix is not enough; the consequence of being wrong is differential settlement, cracking, or service failure.
I would also stop if the project demands a final answer without any test data. There is a big difference between “good enough for a farm lane” and “fit under a building.” If someone wants a one-day recipe for a long-term structural problem, that is exactly when the shortcut becomes expensive. ASTM, AASHTO, or local DOT criteria should guide the call when the stakes are high.
The mistakes people make with soil stabilization
The most common mistake is stabilizing the surface and ignoring the layer below it. The consequence is a hard crust over soft subgrade. Traffic breaks it, water gets in, and the problem comes back worse. The correct alternative is to verify treatment depth and, if needed, excavate deeper or use reinforcement plus drainage.
Another mistake is adding binder to soil that is too wet. The consequence is poor mixing, weak hydration, and a layer that never gains uniform strength. The correct alternative is to dry the soil, scarify it, and bring moisture into the workable range before mixing.