Can You Build on Fill Dirt Without Soil Stabilization?
Last updated: September 10, 2026
Key Takeaways
- A project that can wait 30 to 90 days may reveal early settlement before the structure is loaded.
- A 6-inch crust over 18 inches of loose fill is a trap.
- Spread the soil in layers no thicker than about 6 to 8 inches loose depth before compacting.
- They do need compaction in controlled lifts — usually 6 to 8 inches thick before compaction — and a base that drains instead of holding water.
Yes, sometimes you can build on fill dirt without soil stabilization — but only when that fill is compacted, graded, and treated like a structural base, not loose earth. Pour a slab, set posts, or run a driveway across uncompacted fill, and the ground will keep shifting beneath it. So the real question is not “Can I build on fill dirt?” It is “Has this fill become competent bearing material, or is it still settling soil?” For a deeper overview of settlement and load-bearing basics, see our foundation repair guide.
Who this is for — and who should do something else
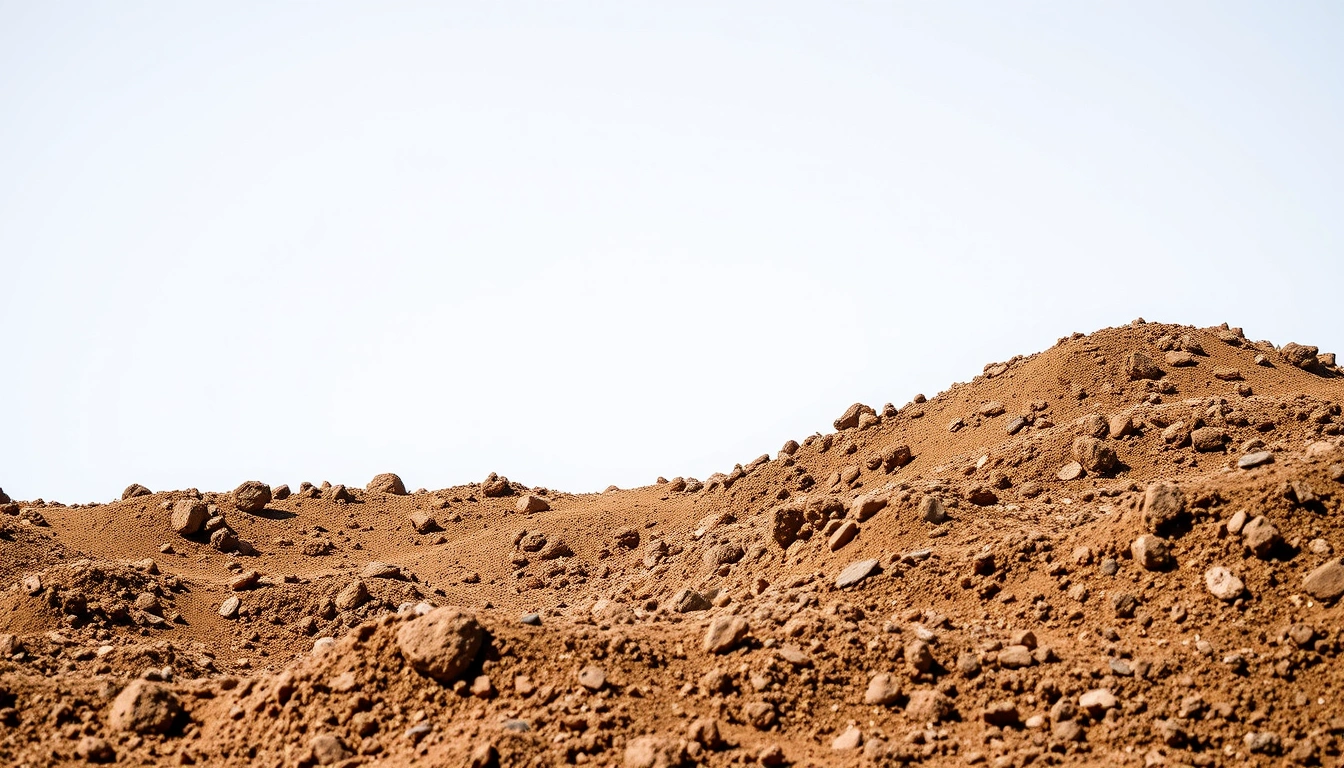
This is for a homeowner, builder, or landowner dealing with imported fill dirt that was placed to raise a yard, level a pad, or backfill around a foundation. I’m assuming you already know the rough footprint of the project, have access for equipment, and can tell loose dumped soil from compacted fill. I’m also assuming the site is not on a steep slope, in a floodway, or over known sinkholes or mine voids.
But the answer changes with the structure. A shed, patio, detached garage, driveway, and house foundation do not tolerate movement the same way. A light structure on shallow footings may survive with modest settlement if the pad is well compacted. A house, retaining wall, or anything carrying significant point loads usually needs a much higher standard of preparation, often documented by geotechnical recommendations and compaction testing. If you are still choosing between a slab and another foundation type, our slab foundation page explains the tradeoffs.
I’d draw a hard line here: if the fill is deep, variable, wet, organic, or built in layers you did not control, do not assume surface grading is enough. “Soil stabilization” can mean lime, cement, geogrid, drainage correction, or mechanical compaction; the right fix depends on the soil type. Clay-rich subgrade behaves very differently from sandy fill. If your project is critical and the ground has already shown rutting, pumping, or cracks, this is no casual DIY job. A compacted 6-inch lift is one thing; a 4-foot pad placed years ago with unknown materials is another. For drainage-related issues, our drainage services page covers common fixes.
Because fill dirt settles. That is the blunt version. How much it settles depends on moisture content, lift thickness, grain size, and compaction effort. When those are uncontrolled, the structure tells on the site later — cracked slab edges, tilted posts, doors that stop closing cleanly. The Federal Highway Administration notes that compaction and moisture control are central to stable earthwork, which is why they matter before any load is added. Source: FHWA research.
Can you build on fill dirt without soil stabilization?
You can build on fill dirt without chemical soil stabilization only when the fill itself has been properly compacted and verified for the load you plan to put on it. Plainly put: compacted fill can work; loose fill cannot.
“Stabilization” is broader than one method. Soil stabilization can mean mechanically compacting the soil, blending in a binder such as lime or cement, improving drainage, or using geotextile or geogrid to spread load. Many small projects do not need chemical treatment, but a qualified geotechnical professional should confirm that for your site. They do need compaction in controlled lifts — usually 6 to 8 inches thick before compaction — and a base that drains instead of holding water. That difference saves people from paying for the wrong fix.
The most common mistake? Looking at the top and deciding the whole pad is firm. It may be crusted on top and weak below. A 6-inch crust over 18 inches of loose fill is a trap. Another misstep is dumping fill all at once and calling it done. Uncontrolled fill can settle for months or years, especially if it contains mixed material, organics, or fine-grained soil that holds water. ASTM’s compaction standards are often used to verify that the fill is actually reaching the intended density. Source: ASTM International.
For small, light loads, you may be able to build on fill dirt without additional stabilization if the fill was placed in thin lifts and compacted to a reasonable density for the intended use. For anything more demanding — slabs, masonry, garages, retaining structures, or footings near the edge of the fill — I would want proof of compaction, not hope. In construction terms, that proof is often a field density test against a specified standard such as ASTM D1557 or ASTM D698, depending on the project spec. If nobody knows what standard was used, that is a warning sign. If you need a contractor to verify it, start with our site preparation overview.
The practical answer is simple: yes, if the fill behaves like engineered subgrade. No, if it is just dirt someone spread around and smoothed.
What has to be true before you build
The fill needs to meet the load, moisture, and drainage requirements before you build. Miss one, and the structure can move even when the surface looks level.
Start with thickness. Shallow fill — maybe a few inches to a foot — over competent native soil is easier to manage than deep fill built over a soft or uneven base. Then check moisture. Fill that is too wet will not compact properly; fill that is too dry can bridge and leave voids. The sweet spot is “near optimum moisture” for the material, which is why compaction crews often water or dry the soil before rolling it.
Drainage matters just as much. If water sits in the fill, the soil loses strength and keeps consolidating. That is why pads should slope away from the structure, and why building on fill near downspouts, sprinklers, or runoff paths often fails first at the edges. A small grade change of 2 percent — roughly 1/4 inch per foot — is a common minimum for moving surface water away from a building area.
You should also know what is in the fill. Clean granular fill behaves differently from mixed demolition debris, topsoil, or clay. Topsoil should not be under a footing or slab; it is too organic and compressible. Loose clay can be especially troublesome because it swells when wet and shrinks as it dries. If the fill contains roots, stumps, trash, or dark organic streaks, I would treat it as unsuitable for structural support unless removed and replaced, and a geotechnical professional should confirm the replacement plan.
One overlooked check is time. Fresh fill is not finished fill. If the pad was just built, the soil may still be adjusting under its own weight. A project that can wait 30 to 90 days may reveal early settlement before the structure is loaded. Not a guarantee. Still cheaper than chasing differential settlement later.
How do you build on fill dirt the right way?
You build on fill dirt the right way by turning it into a predictable base before the structure goes on top of it.
- Strip the weak surface layer. Remove topsoil, roots, loose organic material, and any soft crust until you reach firm material. Verify that the exposed base does not smear under a shovel. If it does, you are still in weak soil.
- Cut the area to final shape before compaction. Grade the pad with a slight slope for drainage, usually about 2 percent away from the future building. Verify that water will not pond in the center or against an edge. A flat pad that catches water is a settlement problem waiting to happen.
- Place fill in thin lifts. Spread the soil in layers no thicker than about 6 to 8 inches loose depth before compacting. Verify that each layer is even. If one area is much thicker, it will settle more than the rest.
- Adjust moisture before compacting. The soil should be damp enough to bind but not so wet that it pumps or slicks. Verify by squeezing a sample: it should hold together without oozing water. If it slumps apart or glistens with water, wait or dry it out.
- Compact each lift with the right equipment. Use a plate compactor for small areas and a roller or larger compaction equipment for broader pads. Verify that the surface becomes tight, not just smooth. If a tire or boot leaves deep tracks, compaction is inadequate.
- Check density if the structure matters. For slabs, garages, retaining walls, or substantial footings, ask for field density testing against the project specification. Verify that the result matches the required percentage of maximum dry density. If there is no spec, that is a planning failure, not a minor detail.
- Repeat until the build height is reached. Continue lift by lift until you reach subgrade. Verify finished grade with a level or laser before placement of base material, forms, or footings. If the final surface waves, the structure above will inherit that irregularity.
- Add the proper base, not just more dirt. For slabs or pavements, place the specified granular base course over the compacted subgrade. Verify thickness and uniformity. A missing base layer often shows up later as cracking, frost heave, or edge breakup.
If you are building something light, like a small shed, some of these steps may be enough by themselves. If you are building a house foundation or a retaining wall, I would not rely on visual checks alone. Soil does not care that the surface “feels solid.” So the safer move is to follow the same inspection logic used on larger projects and, when needed, bring in a qualified professional.
What signs tell you the fill is not ready?
The fill is not ready if it moves, pumps, cracks, or drains badly. Those signs mean the soil has not become a dependable bearing layer.
Here are the red flags I watch for in principle, whether the project is a 10-by-12 shed pad or a larger building site:
Standing water after rain: This means the pad is too flat or the soil is too tight and fine-grained to drain. Water increases settlement risk. Fix the grade and drainage before building.
Footprints deeper than about 1/4 inch from ordinary walking: This suggests the surface is still soft or undercompacted. For anything structural, stop and recompact.
Rutting from a wheelbarrow, skid steer, or truck tire: This means the load is concentrating in weak spots. It usually points to inconsistent compaction or wet subsoil. Correct with lift-by-lift recompaction or material replacement.
Cracking along the pad or around the edges: Hairline cracks in the soil surface can be harmless drying shrinkage, but repeated or widening cracks show movement. That is a warning sign for differential settlement.
Mixed debris, organics, or dark pockets in the fill: This means the material is not uniform. Organic pockets decay and leave voids. Remove and replace them.
Soft edges where the pad meets native soil: This is a classic failure point because water and load collect at transitions. The edge may need benching into native soil, a wider compacted apron, or engineered reinforcement.
If any of these show up under a load-bearing project, I would stop pretending the pad is “fine for now.” The cost of correction is usually lower before concrete, masonry, or framing goes on top. For a quick reference on concrete-related subgrade issues, see our concrete crack repair page.
When should you stop and use another approach?
You should stop and choose another approach when the fill is too deep, too wet, too variable, or too important to trust without engineering.
Fill is deeper than a few feet and you do not know how it was placed: That means settlement risk is unknown — get geotechnical input before footings go in.
The site is on clay that stays sticky after rain: That means moisture swings will keep changing the soil strength — use drainage correction, undercutting, or stabilization designed for clay.
You see organics, trash, asphalt chunks, or demolition debris in the fill: That means the material is not uniform bearing soil — excavate and replace it with clean, compacted fill.
The project is a house, masonry wall, or heavy slab: That means the load is too unforgiving for guesswork — require compaction criteria and, if appropriate, a design from a qualified engineer.
The area is sloped, erosion-prone, or near a drainage path: That means water will keep attacking the fill — regrade, add drainage control, or redesign the pad location.
The fill has already settled unevenly and cracked the surface: That means the soil has shown you it is not stable — remove weak zones, recompact, or rebuild the pad.
For a detached shed or temporary platform, a conservative DIY approach may be enough. For a structure where cracking, tilt, or water intrusion would be expensive, I would not rely on hope and a rental compactor. The wrong tool here is a blanket “just compact it more.” Sometimes the correct move is undercutting 12 inches, sometimes it is geogrid, and sometimes it is to build somewhere else. If you are comparing methods, our geogrid installation page explains one common reinforcement option.
The mistakes people make, and what they cost
The biggest mistake is building on fill that was not compacted in lifts. The cost is settlement that shows up later as cracks, misalignment, or sloping floors. The proper alternative is controlled placement in 6- to 8-inch layers with compaction between lifts.
Another common error is using topsoil or mixed excavated soil as structural fill. The cost is decay, voids, and poor bearing. The proper alternative is clean granular fill or engineered fill suited to the load.
A third mistake is ignoring moisture. Too wet, and the soil pumps under compaction; too dry, and it does not knit together. The cost is a pad that feels hard at the surface but collapses under load. The proper alternative is to condition moisture before compacting.
People also skip drainage. The cost is repeated wetting, softening, and frost-related movement in cold climates. The proper alternative is grade away from the structure and keep runoff off the pad.
A fifth mistake is trusting the surface instead of the whole depth. The cost is hidden soft layers that fail after the slab or footing is in place. The proper alternative is inspection during placement, not after. If the site needs help moving water, our grading and drainage service page is a sensible next step.
How long does it take, and what does a good result look like?
A sound fill pad can take a day or several weeks, depending on how much soil has to be moved and how much settling you want to catch before building. A small pad might be placed and compacted in one day. A more cautious project might sit through one or two rain cycles before final approval.
A good result is not just a flat surface. It is a pad that holds shape under foot or equipment, sheds water, and stays consistent from edge to edge. If you cut a small test area and see uniform material with no soft spots, that is encouraging. If the surface waves, rutting returns after rain, or the pad keeps changing height, the fill is still telling you it is not ready. For planning next steps, our foundation inspection page explains what a professional review can catch.